Configure CD for Azure WebApp with Terraform Provider for Octopus Deploy
Published on
In this post, I’m going to configure the continuous delivery process for Azure WebApp (Azure Function in this case, but that’s pretty much the same) with Octopus Deploy. To make it a little bit interesting I’m going to use Configuration-as-Code approach with a brand new Octopus provider for Terraform.

Buckle up and let’s get started…
Tools
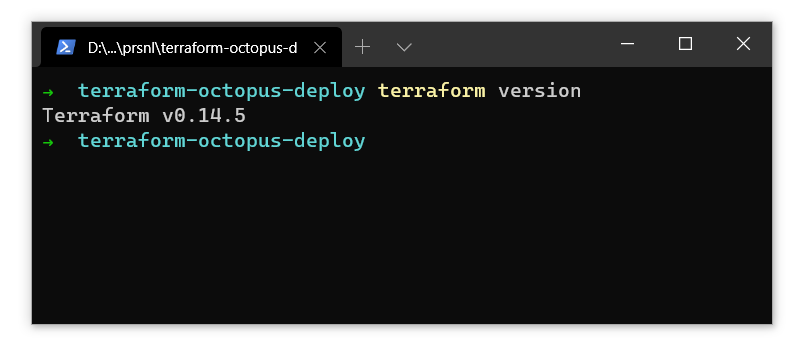
Terraform
I’m going to need terraform on my machine:
Octopus Deploy
For this post, I’ve signed up for a free tier of Octopus Deploy SaaS offering. Of course, the self-hosted version will work as well.
When signed up and configured my account I can generate a new API key that I’m going to use with Terraform
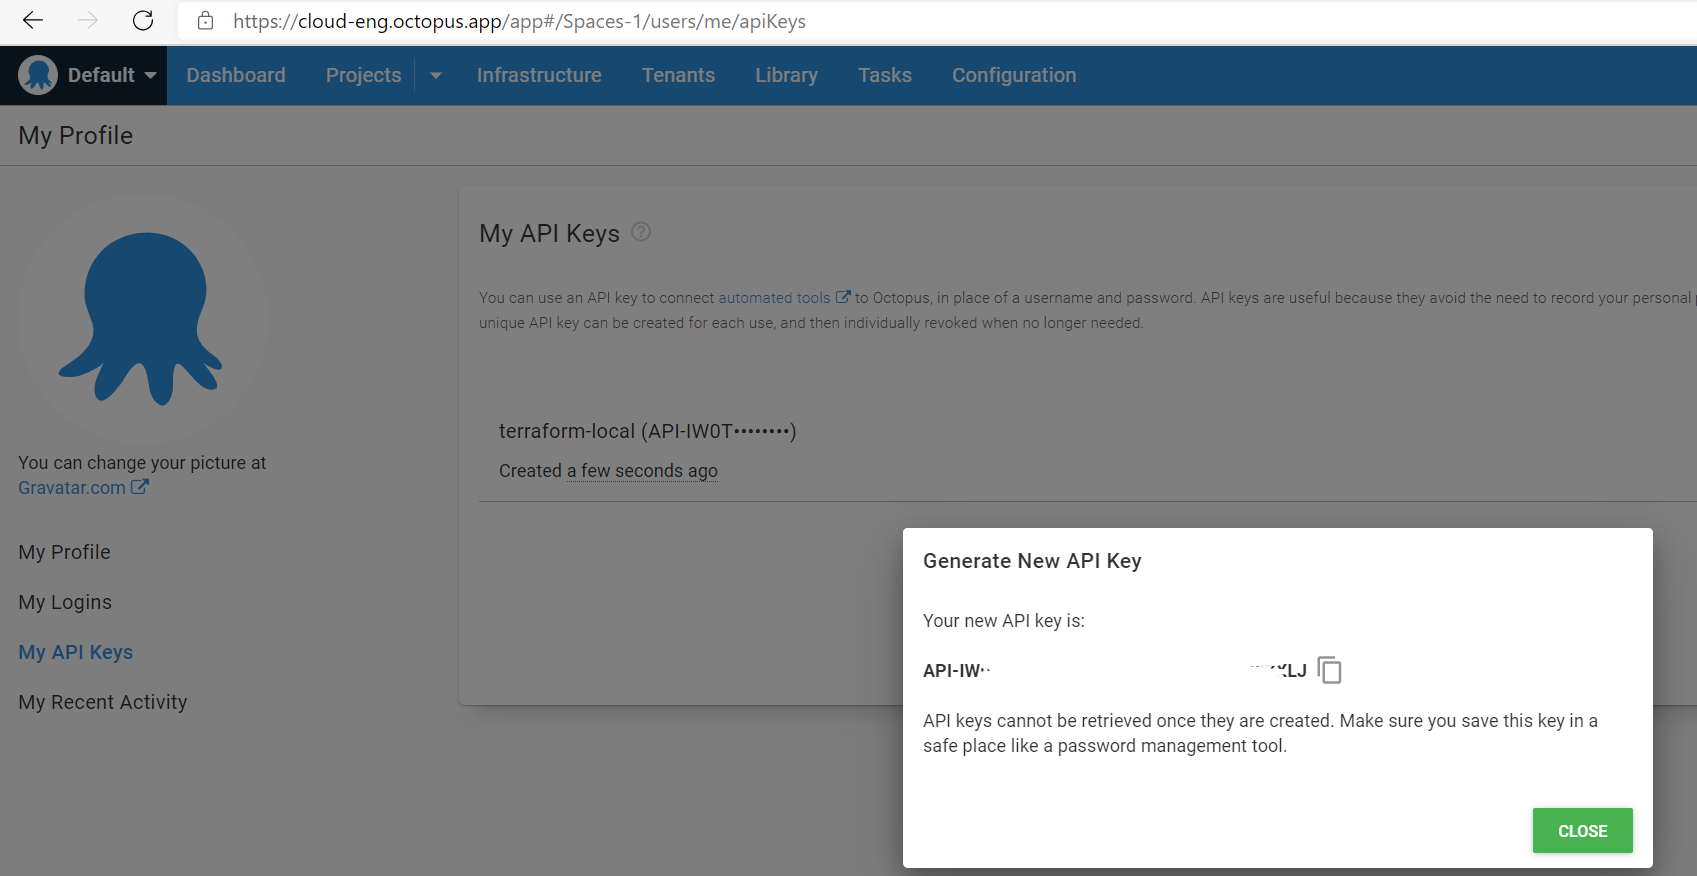
All configuration is going to be made against the default Space (Spaces-1), however, that’s configurable too.
Azure
To connect Octopus Deploy with Azure I’m going to need a Service Principal.
# (!) make sure to follow the principle of least privilege here
# and define the role and scope
az ad sp create-for-rbac --name sp-octopus-deploy
Grap the tenant Id, application Id, password, and subscription Id values. We’ll heed them later.
Azure Function
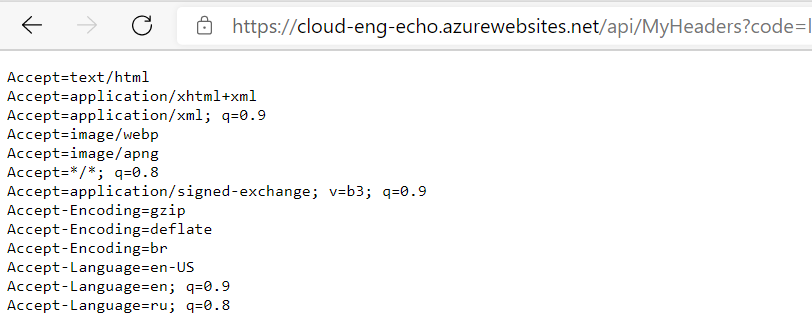
For the demo, I’m going to use this super simple Azure Function that replies to your GET request with a list of headers supplied.
The complete source code is published here.
the .csx gist is the following
Azure DevOps
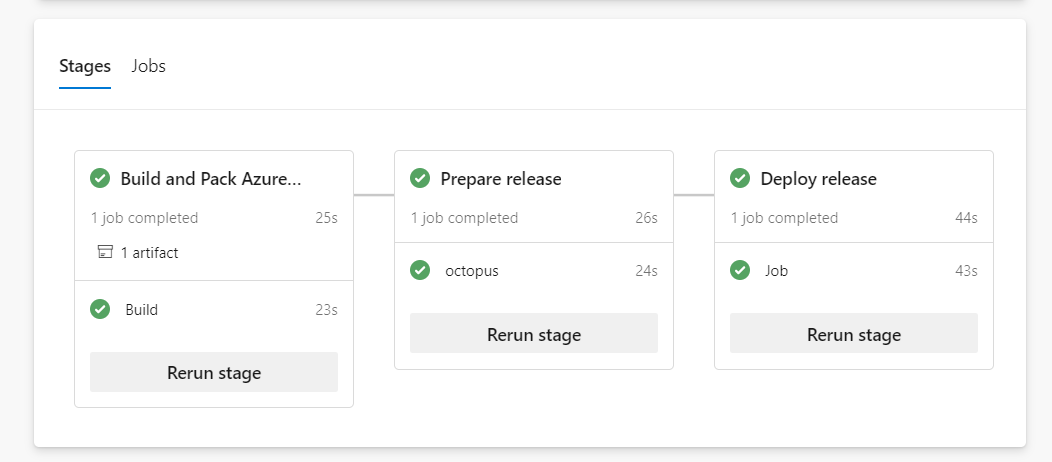
I’m running the CI part in Azure DevOps.
Project configuration is pretty simple and it’s terraform set up can be found here.
the pipeline itself it here.
Nothing complicated:
- Build Azure Function
- Pack Azure DevOps artifact (zip)
- Upload it to Octopus Deploy’s built-in feed
- Create new Octopus Deploy release
- Trigger the deployment
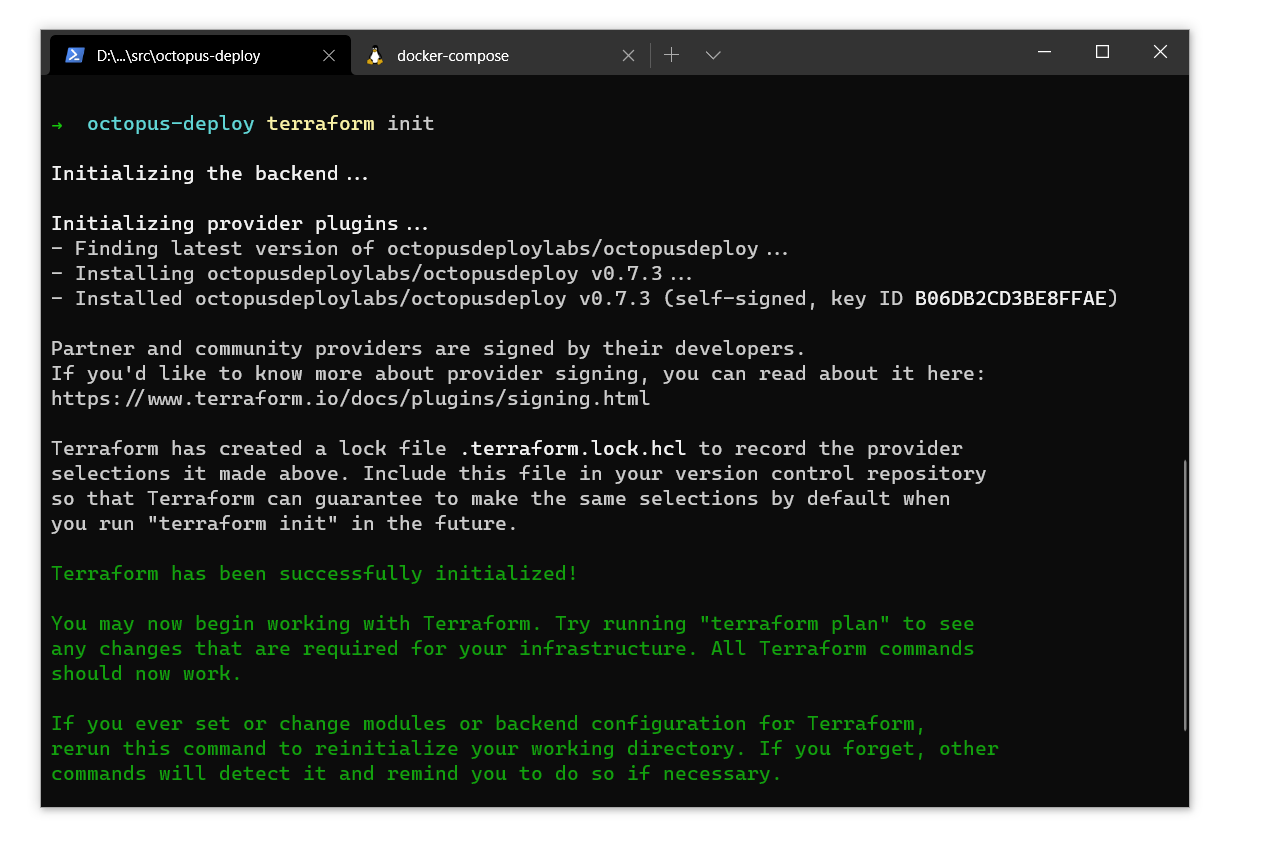
Init
Terraform provider is no different from other providers and can be found on Terraform Registry
and terraform init will download missing files
Configuration
For the demo, I’m going to have this terraform.tfvars file to provide configuration values to Terraform.
Configure Environment
Now we’re ready to start. At first, I’m going to configure a new Environment.
Environments are how you organize your deployment targets (whether on-premises servers or cloud services) into groups that represent the different stages of your deployment pipeline, for instance, development, test, and production.
You’d probably have more than one, but that’ll do for now.
Deployment Target
The next crucial part is Deployment Target
With Octopus Deploy, you can deploy software to Windows servers, Linux servers, Microsoft Azure, AWS, Kubernetes clusters, cloud regions, or an offline package drop. Regardless of where you’re deploying your software, these machines and services are known as your deployment targets.
I’m using octopusdeploy_azure_web_app_deployment_target, It’s quite specific. I could have used a more generic octopusdeploy_deployment_target instead.
This is where I link Azure (my Service Principal) with Octopus.
Now we have a nice and clean infrastructure defined in Octopus.

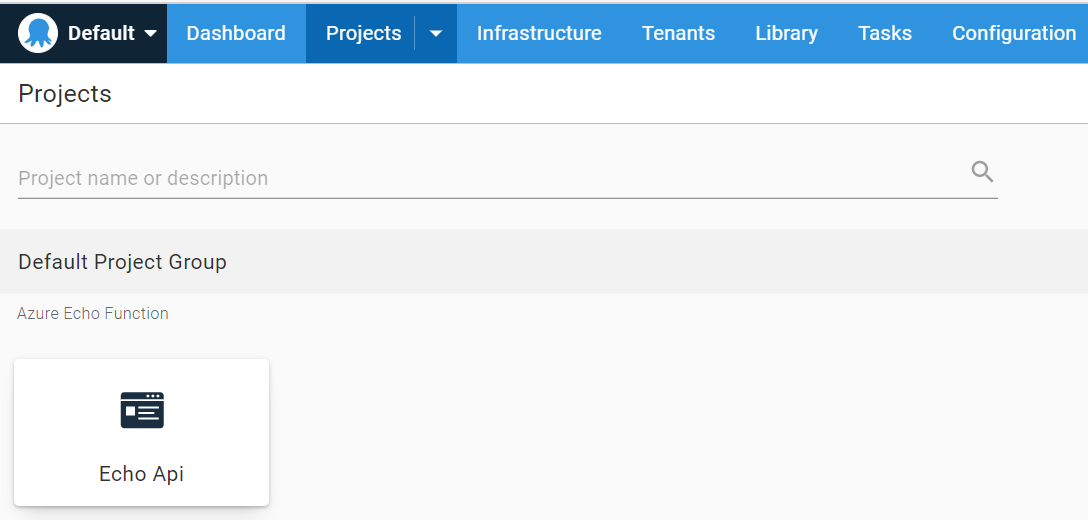
Project
The next step is to configure our Project.
Projects let you create and manage your deployment processes, releases, and runbooks from the Octopus REST API and Octopus Web Portal.
I’m setting up an Echo Api project here, placing it into Default Project Group with the default lifecycle.
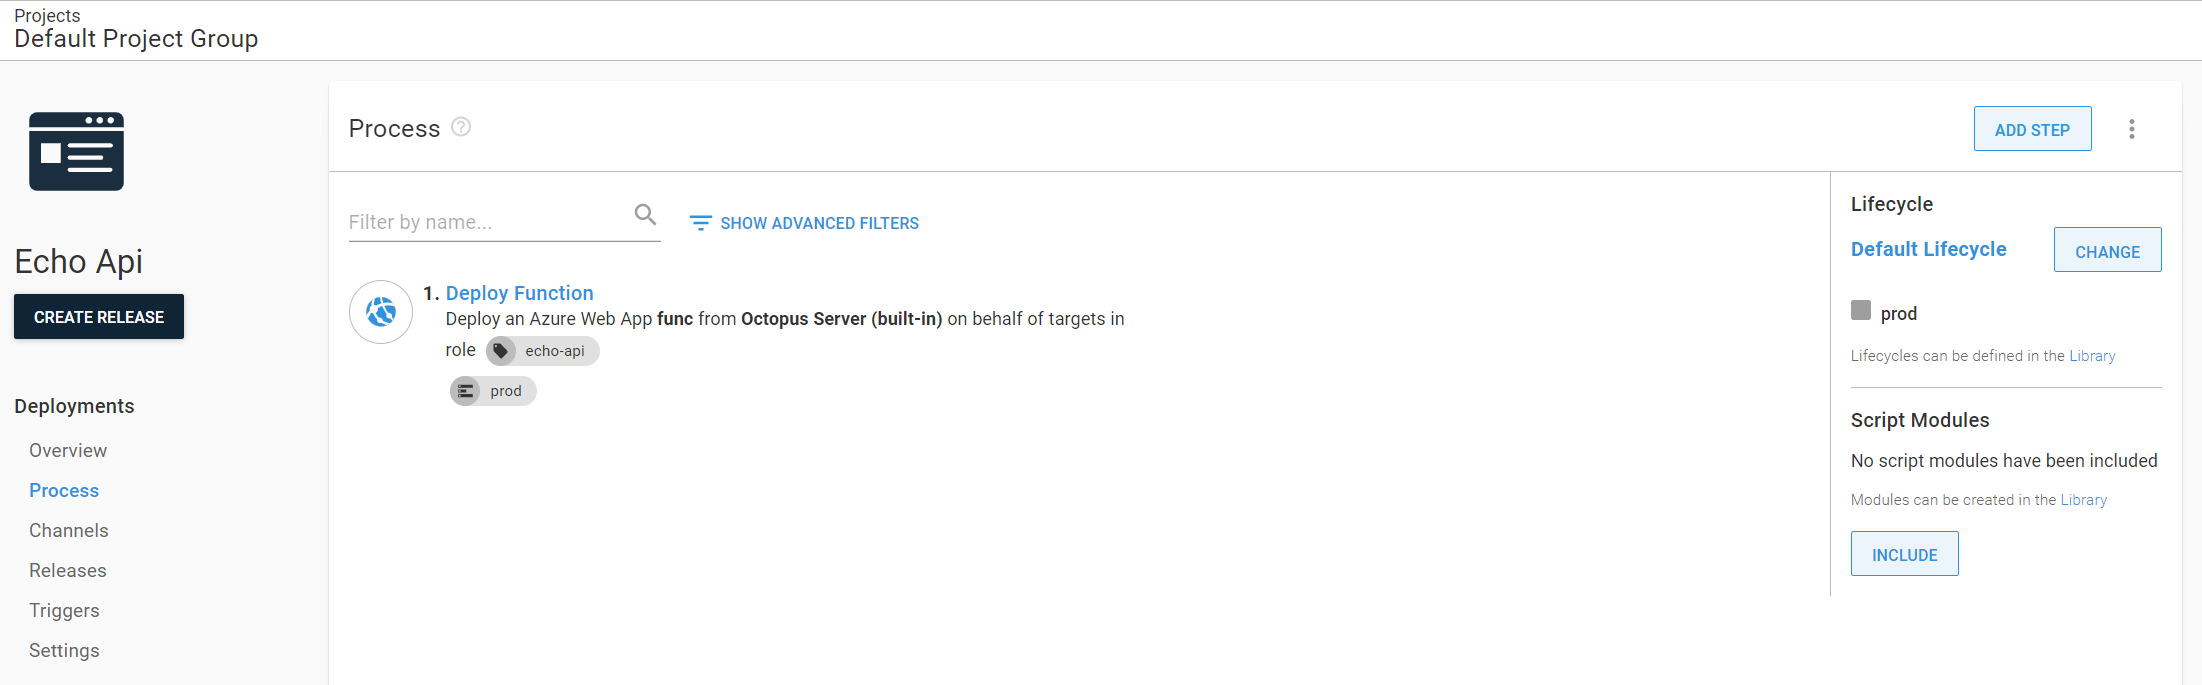
Deployment process
And now the juicy part.
My deployment is not complicated actually, just one step that is picking up the package from a built-in feed and pushing it to my only environment.
I wish all deployments were that simple…
Release
Release creation process is driven by Azure DevOps pipeline. The process is split into two stages. Release Creation and Deployment.
Create Release stage
This stage uploads the build artifact to the built-in package feed, submits metadata and creates a new release.
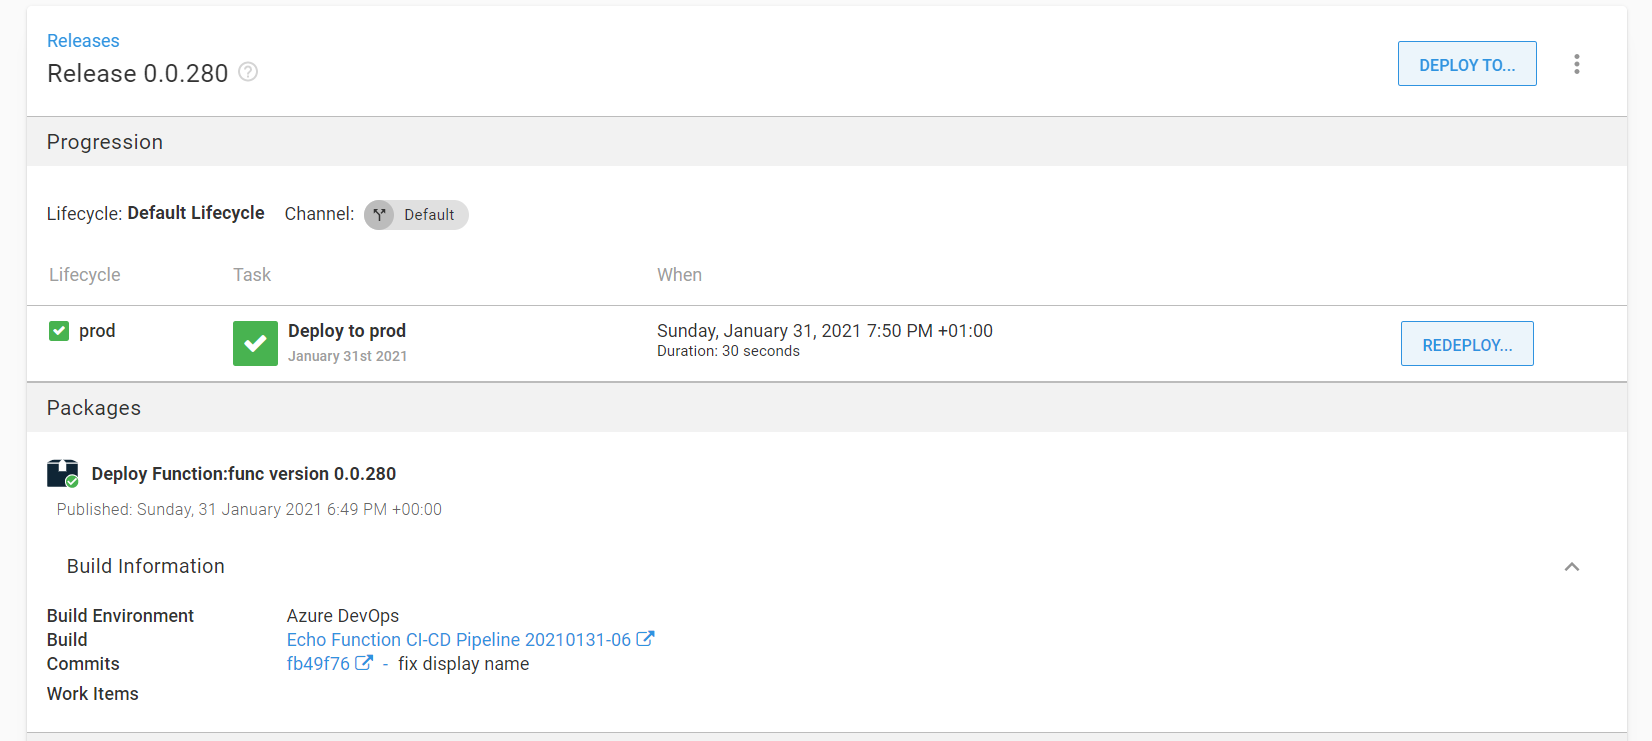
Deploy release stage
OctopusDeployRelease task will trigger a new deployment process
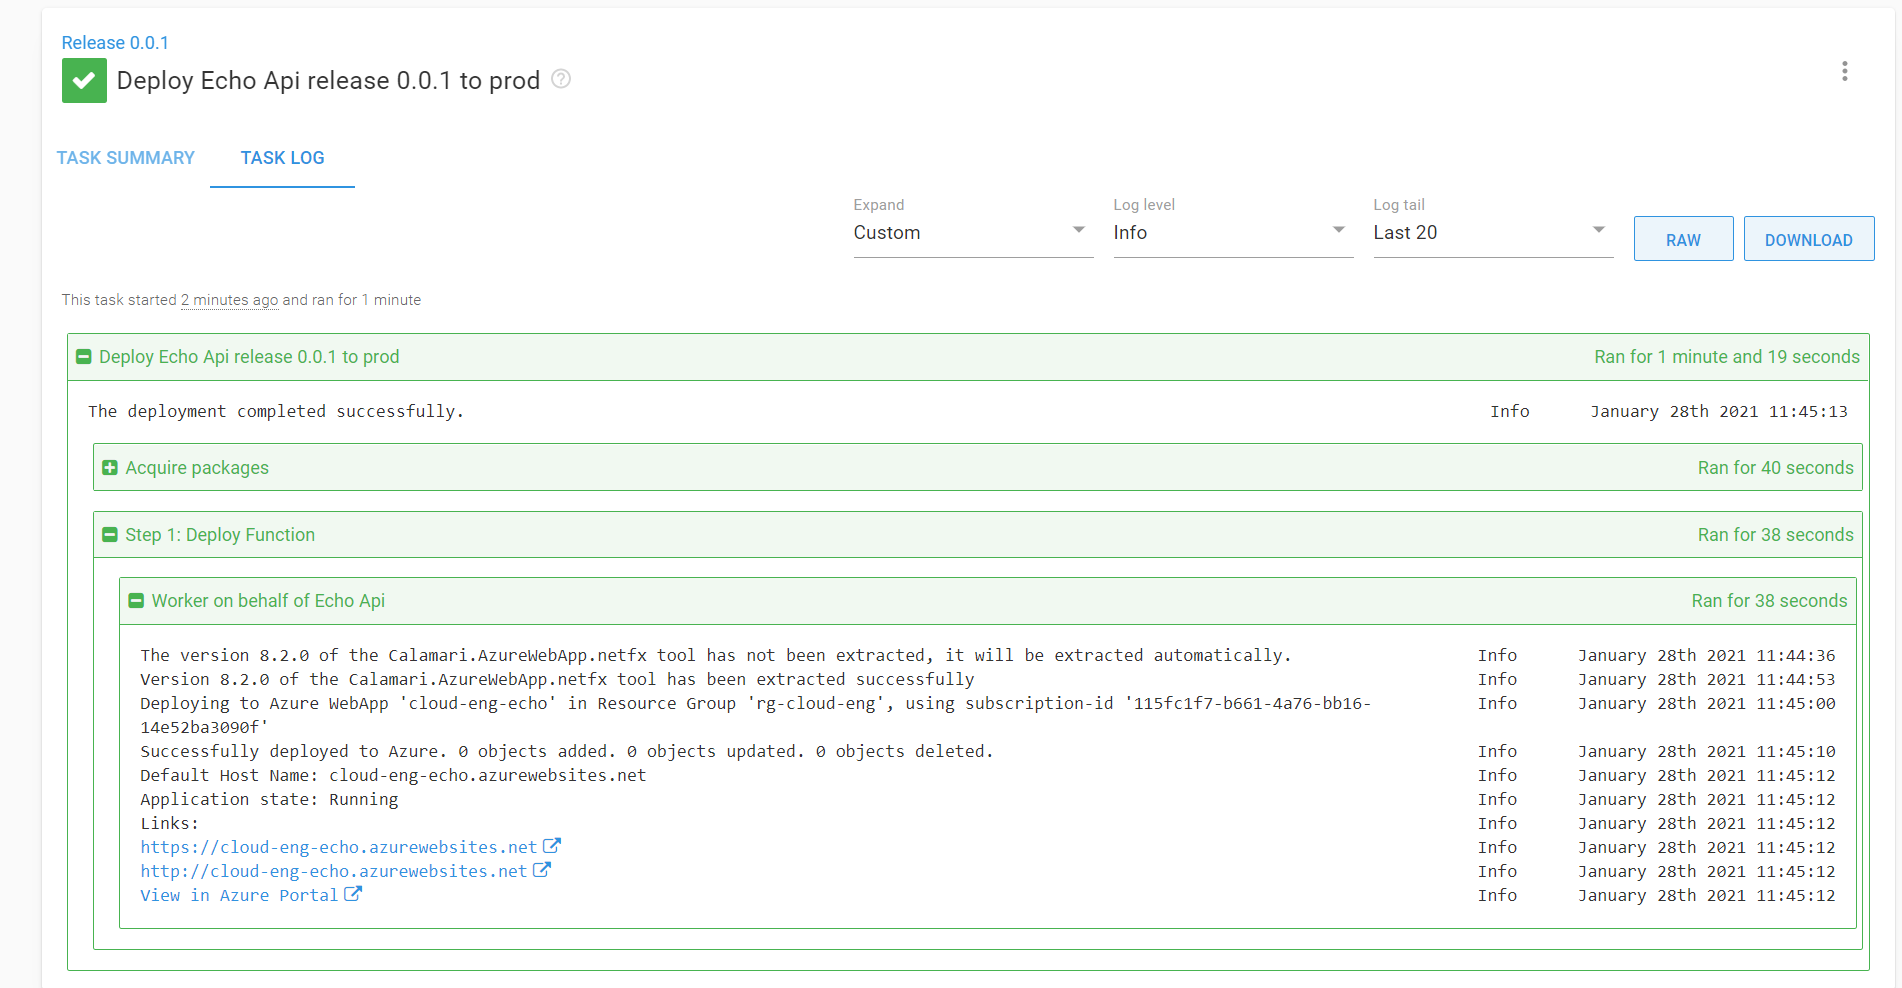
Voilà, it’s up and running.
Import
The neat part about Octopus Deploy is its resource ID’s system. It’s always easy to find the id of the object which makes it super easy to import existing resources into your terraform state.
Let’s assume that I already have an environment configured and I want to adopt it so that I can manage it with Terraform.
https://cloud-eng.octopus.app/app#/Spaces-1/infrastructure/machines?environmentIds=Environments-7
The URL looks this way. Environments-7 is the id of my environment.
All it takes to import the environment is to declare the resource and type one command:
this is such a breath of fresh air comparing to long and not so easy way to get Ids in Azure :)
Happy provisioning!